Tag Archives: yum yum yum

June cook-a-long: Wrap-up

Hello my beautiful friends!

Here we are. Another month gone by in a blink of the eye. Goodness gracious me! We are almost half way through the year already!

As the nights are getting cooler and the days are getting shorter, all I can think about is what to cook that will warm me up! The answer? Soup, soup and soup!!!

Fortunately, thanks to the June issue’s of ABC delicious. Magazine, there has been no shortage of fabulous soup recipes.

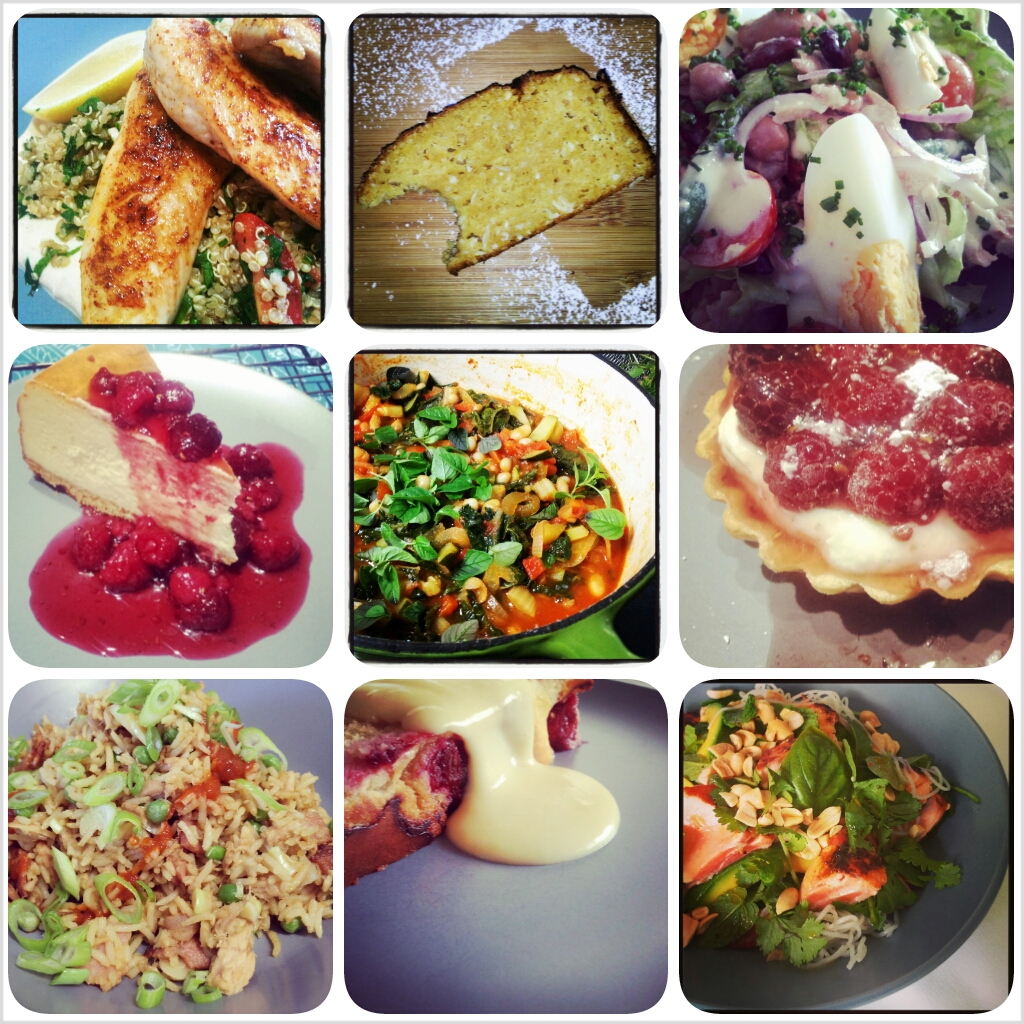
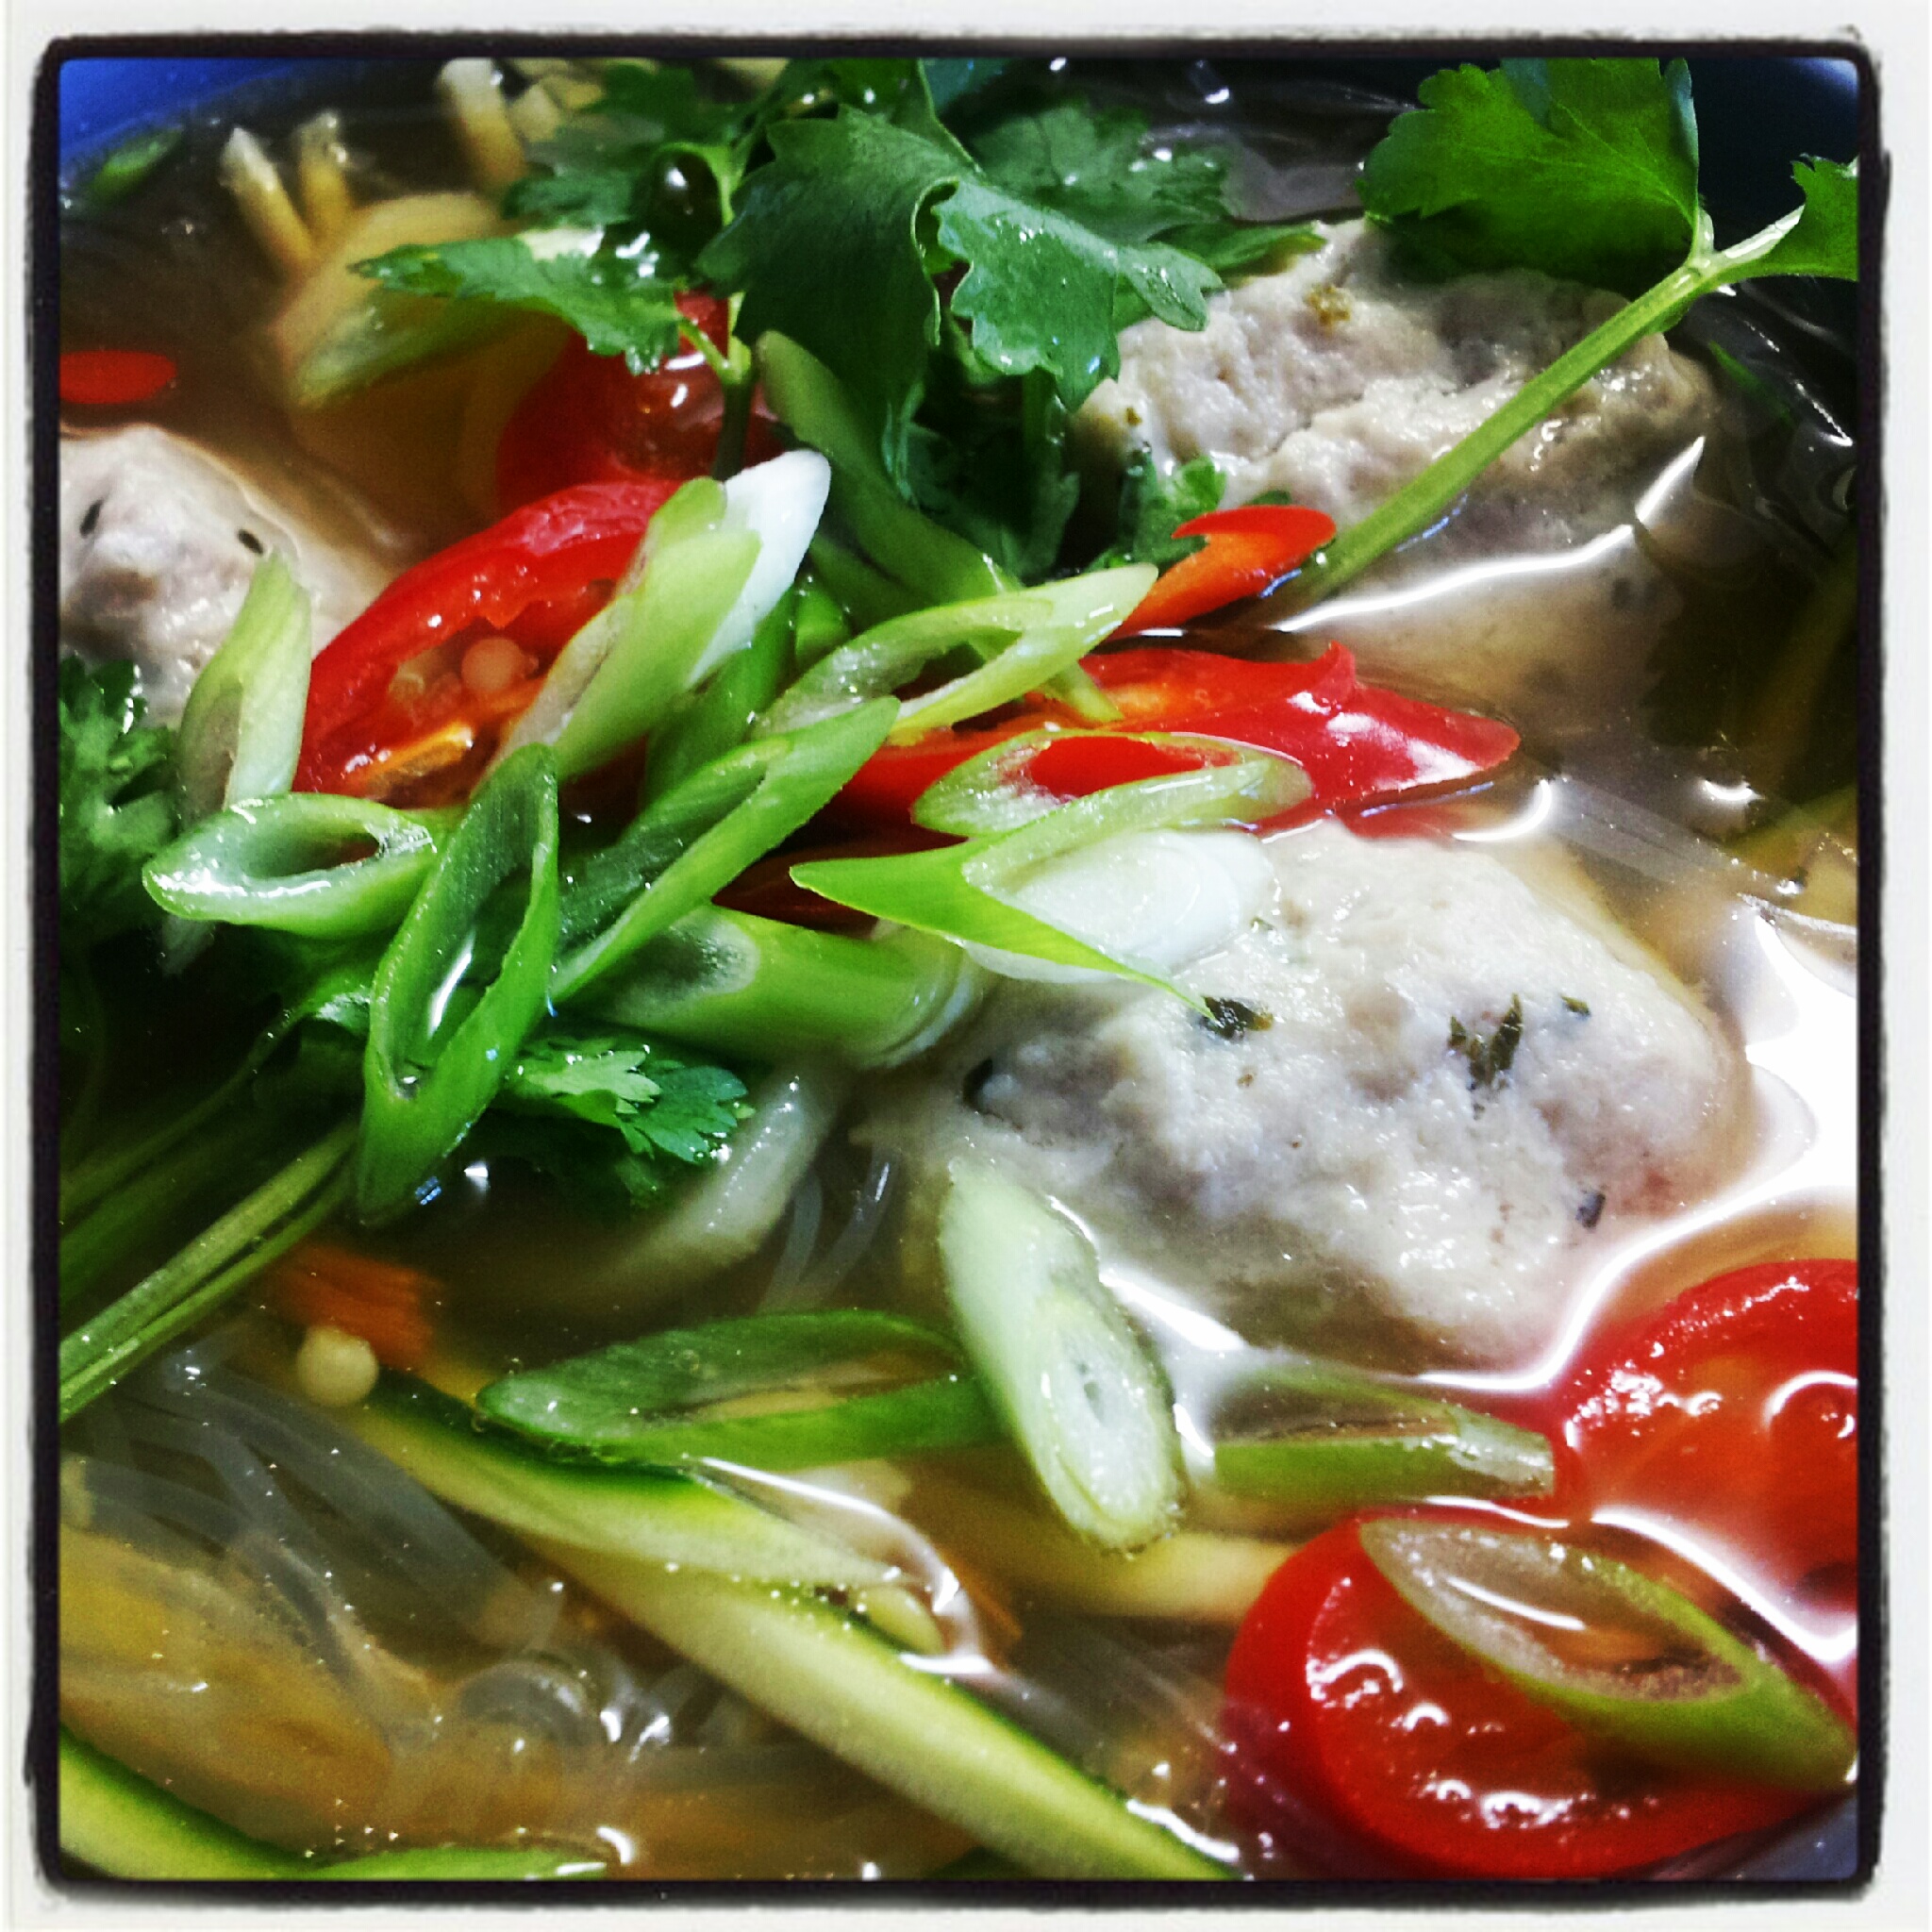
Having made at least six different soup’s this month (much to the disgust of B4), I can honestly say that THE BEST one was the Vietnamese chicken, lemongrass & rice soup from the June cook-a-long. So much so that I actually made it twice in one week!

Me

I just love the combination of spring onion, ginger, lemongrass and chilli. In fact, I often have to hold myself back from cooking Asian food every night of the week. I seem to be drawn to those flavours.

It seems though that I may have put a few of you off with the recipe I chose this month, which resulted in a bunch of you not getting time to cook-a-long with me this month. (sad face)

For those of you who don’t have time to make your own stock, I can only encourage you to just try it once. In actual fact, it cooks itself. Just pop all the ingredients in a pot on the stove and let it gently simmer for a few hours. Until you taste it, you won’t realise just how much better homemade chicken stock is. Comfort in a bowl…

Dessert

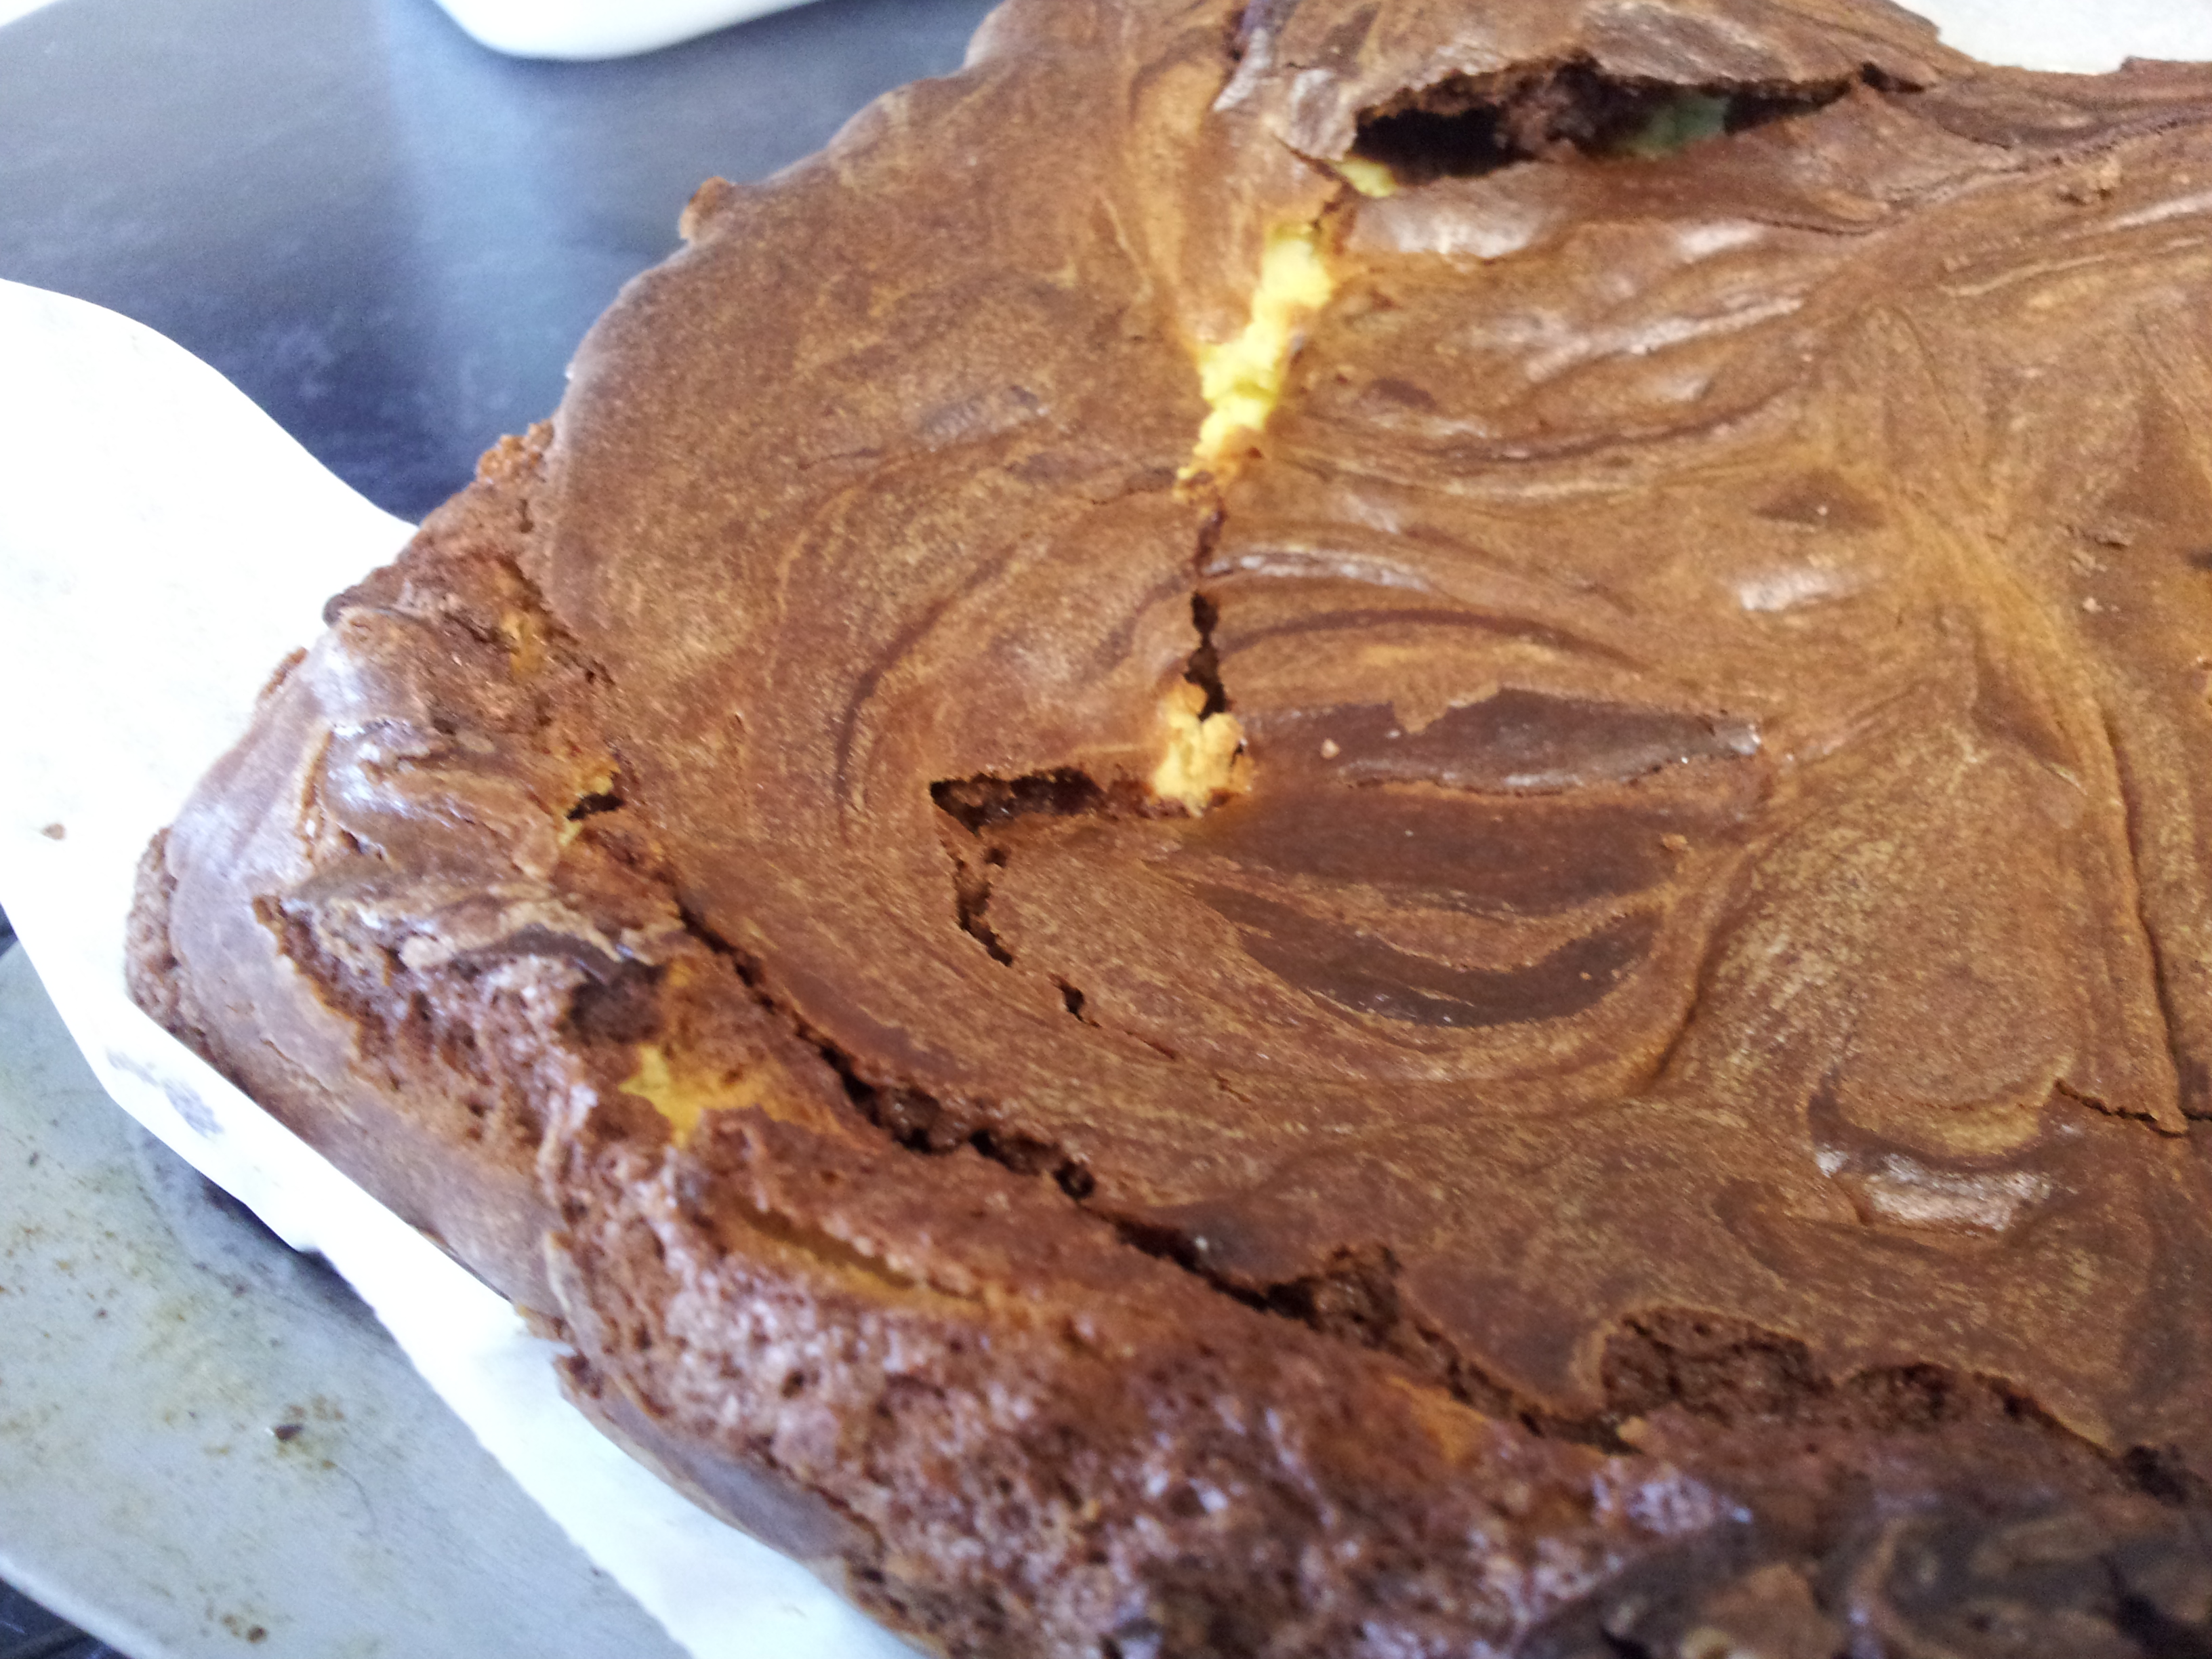
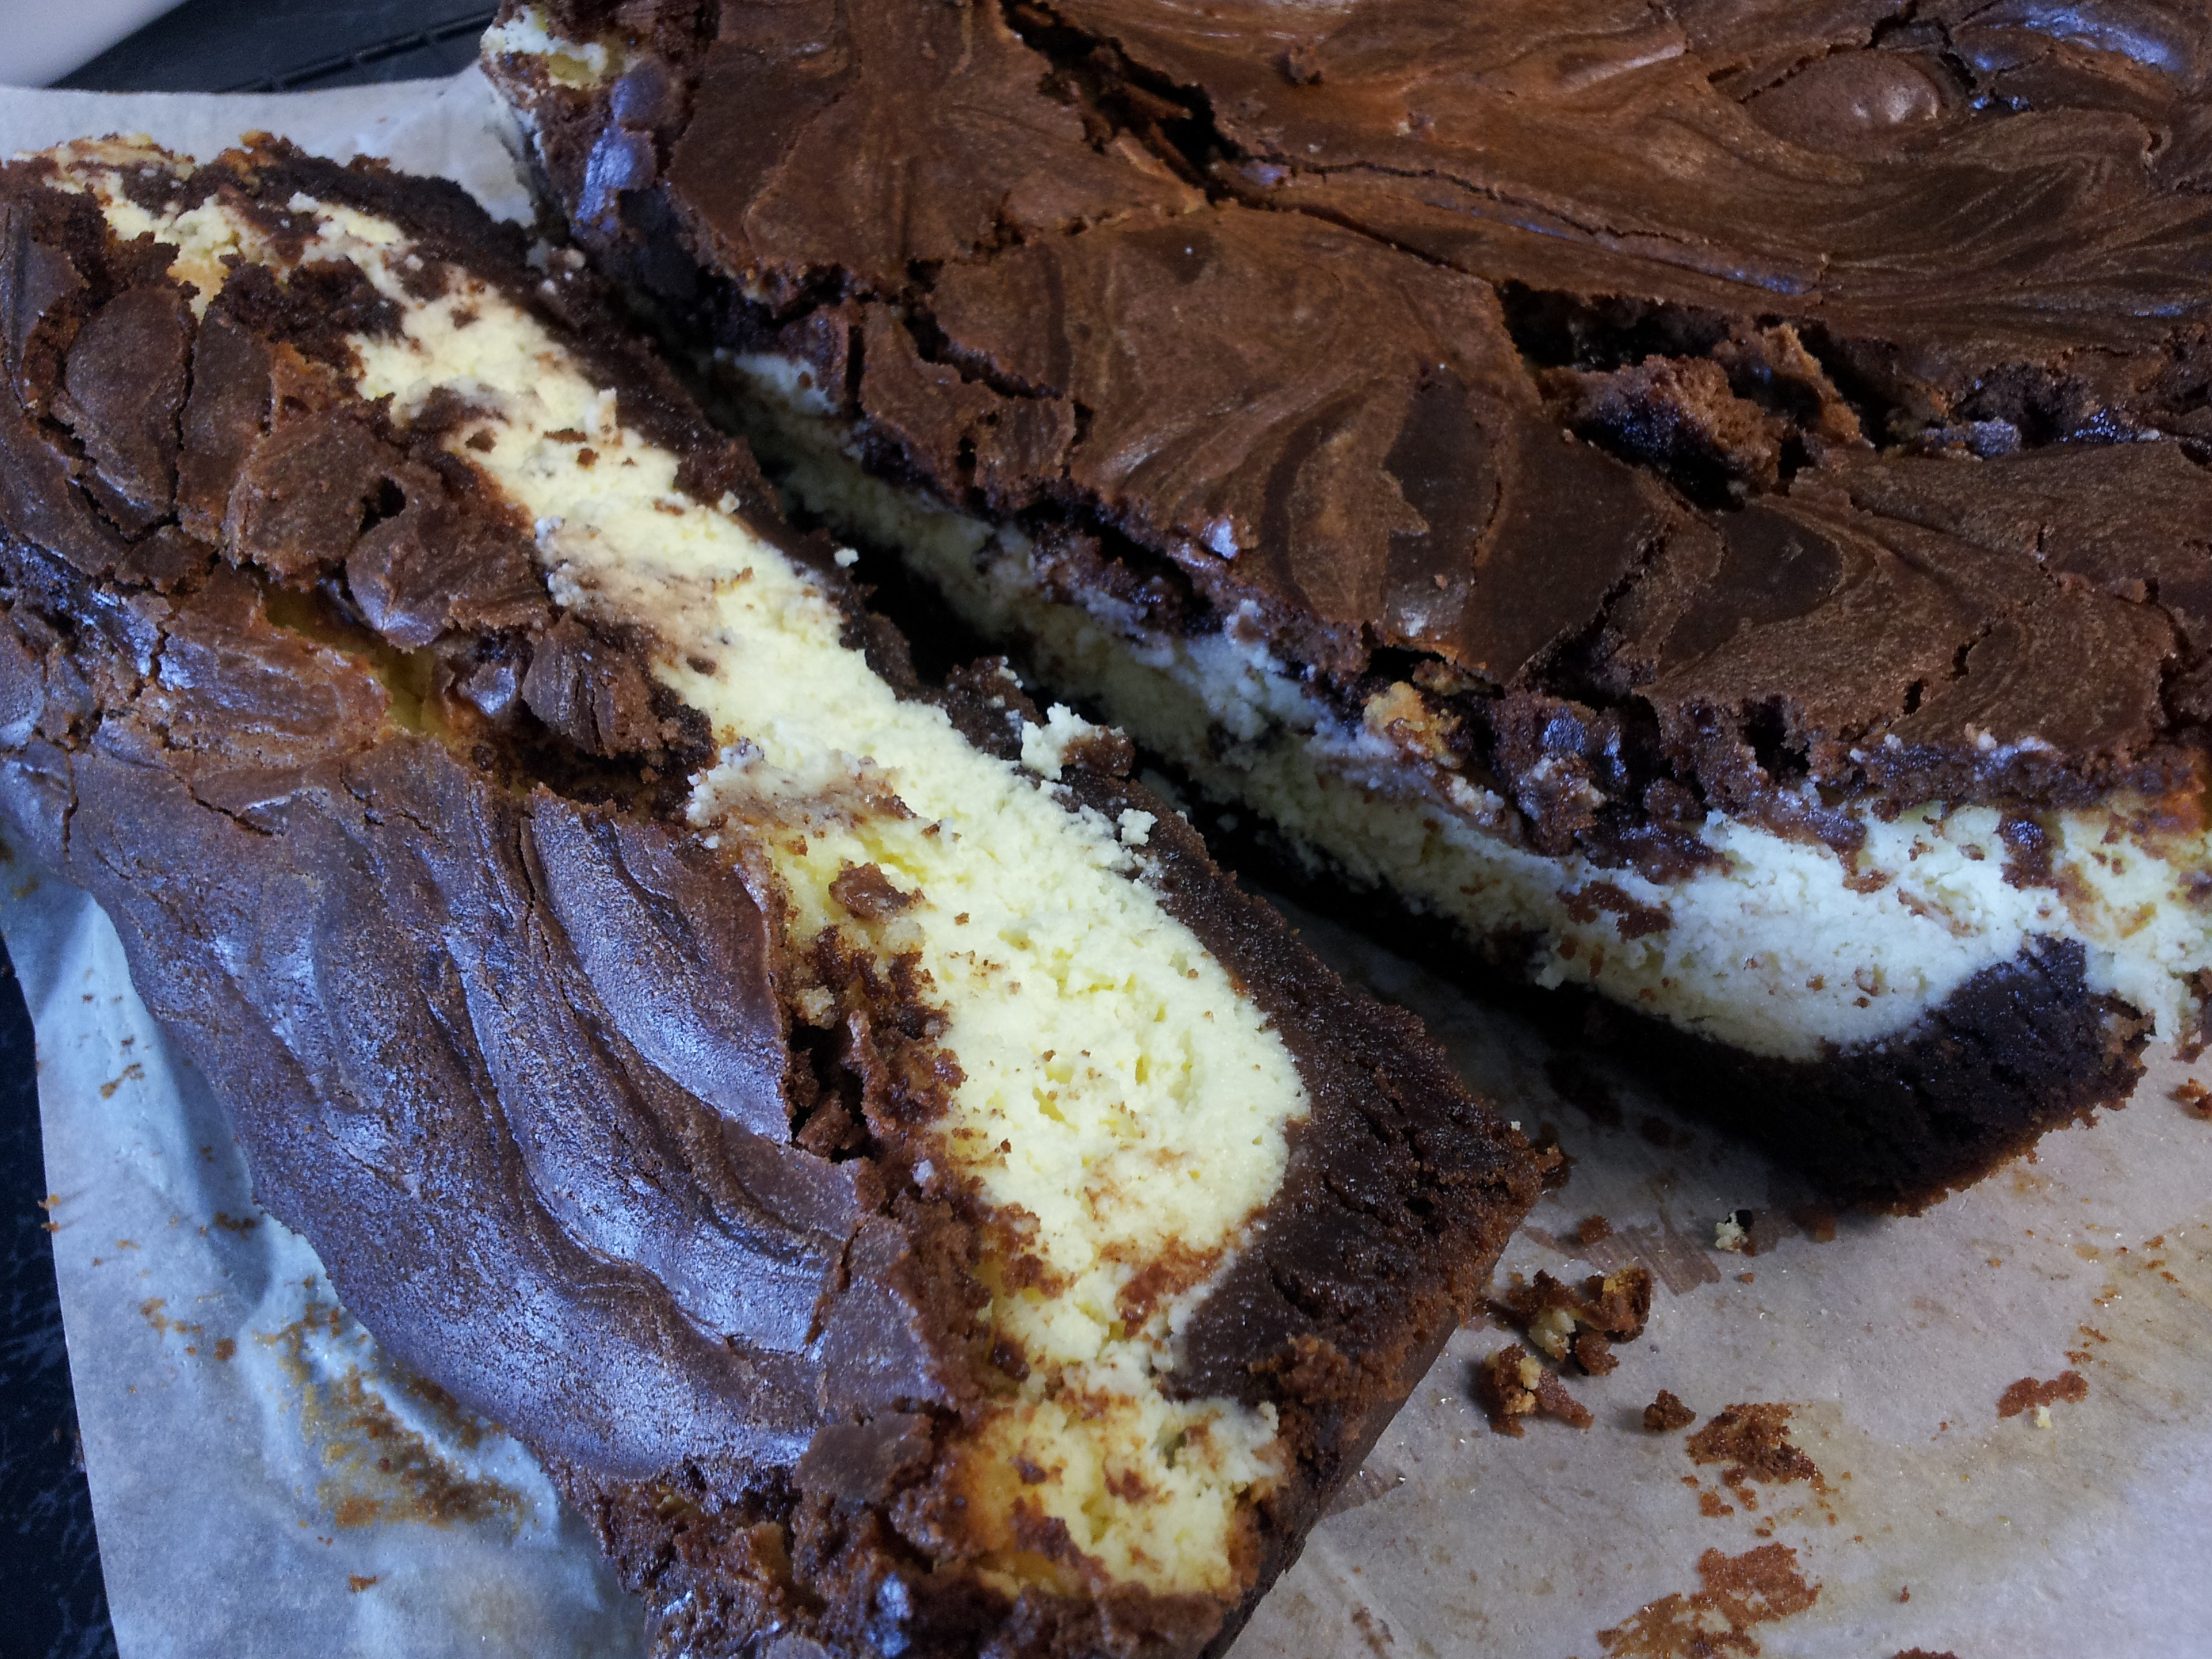
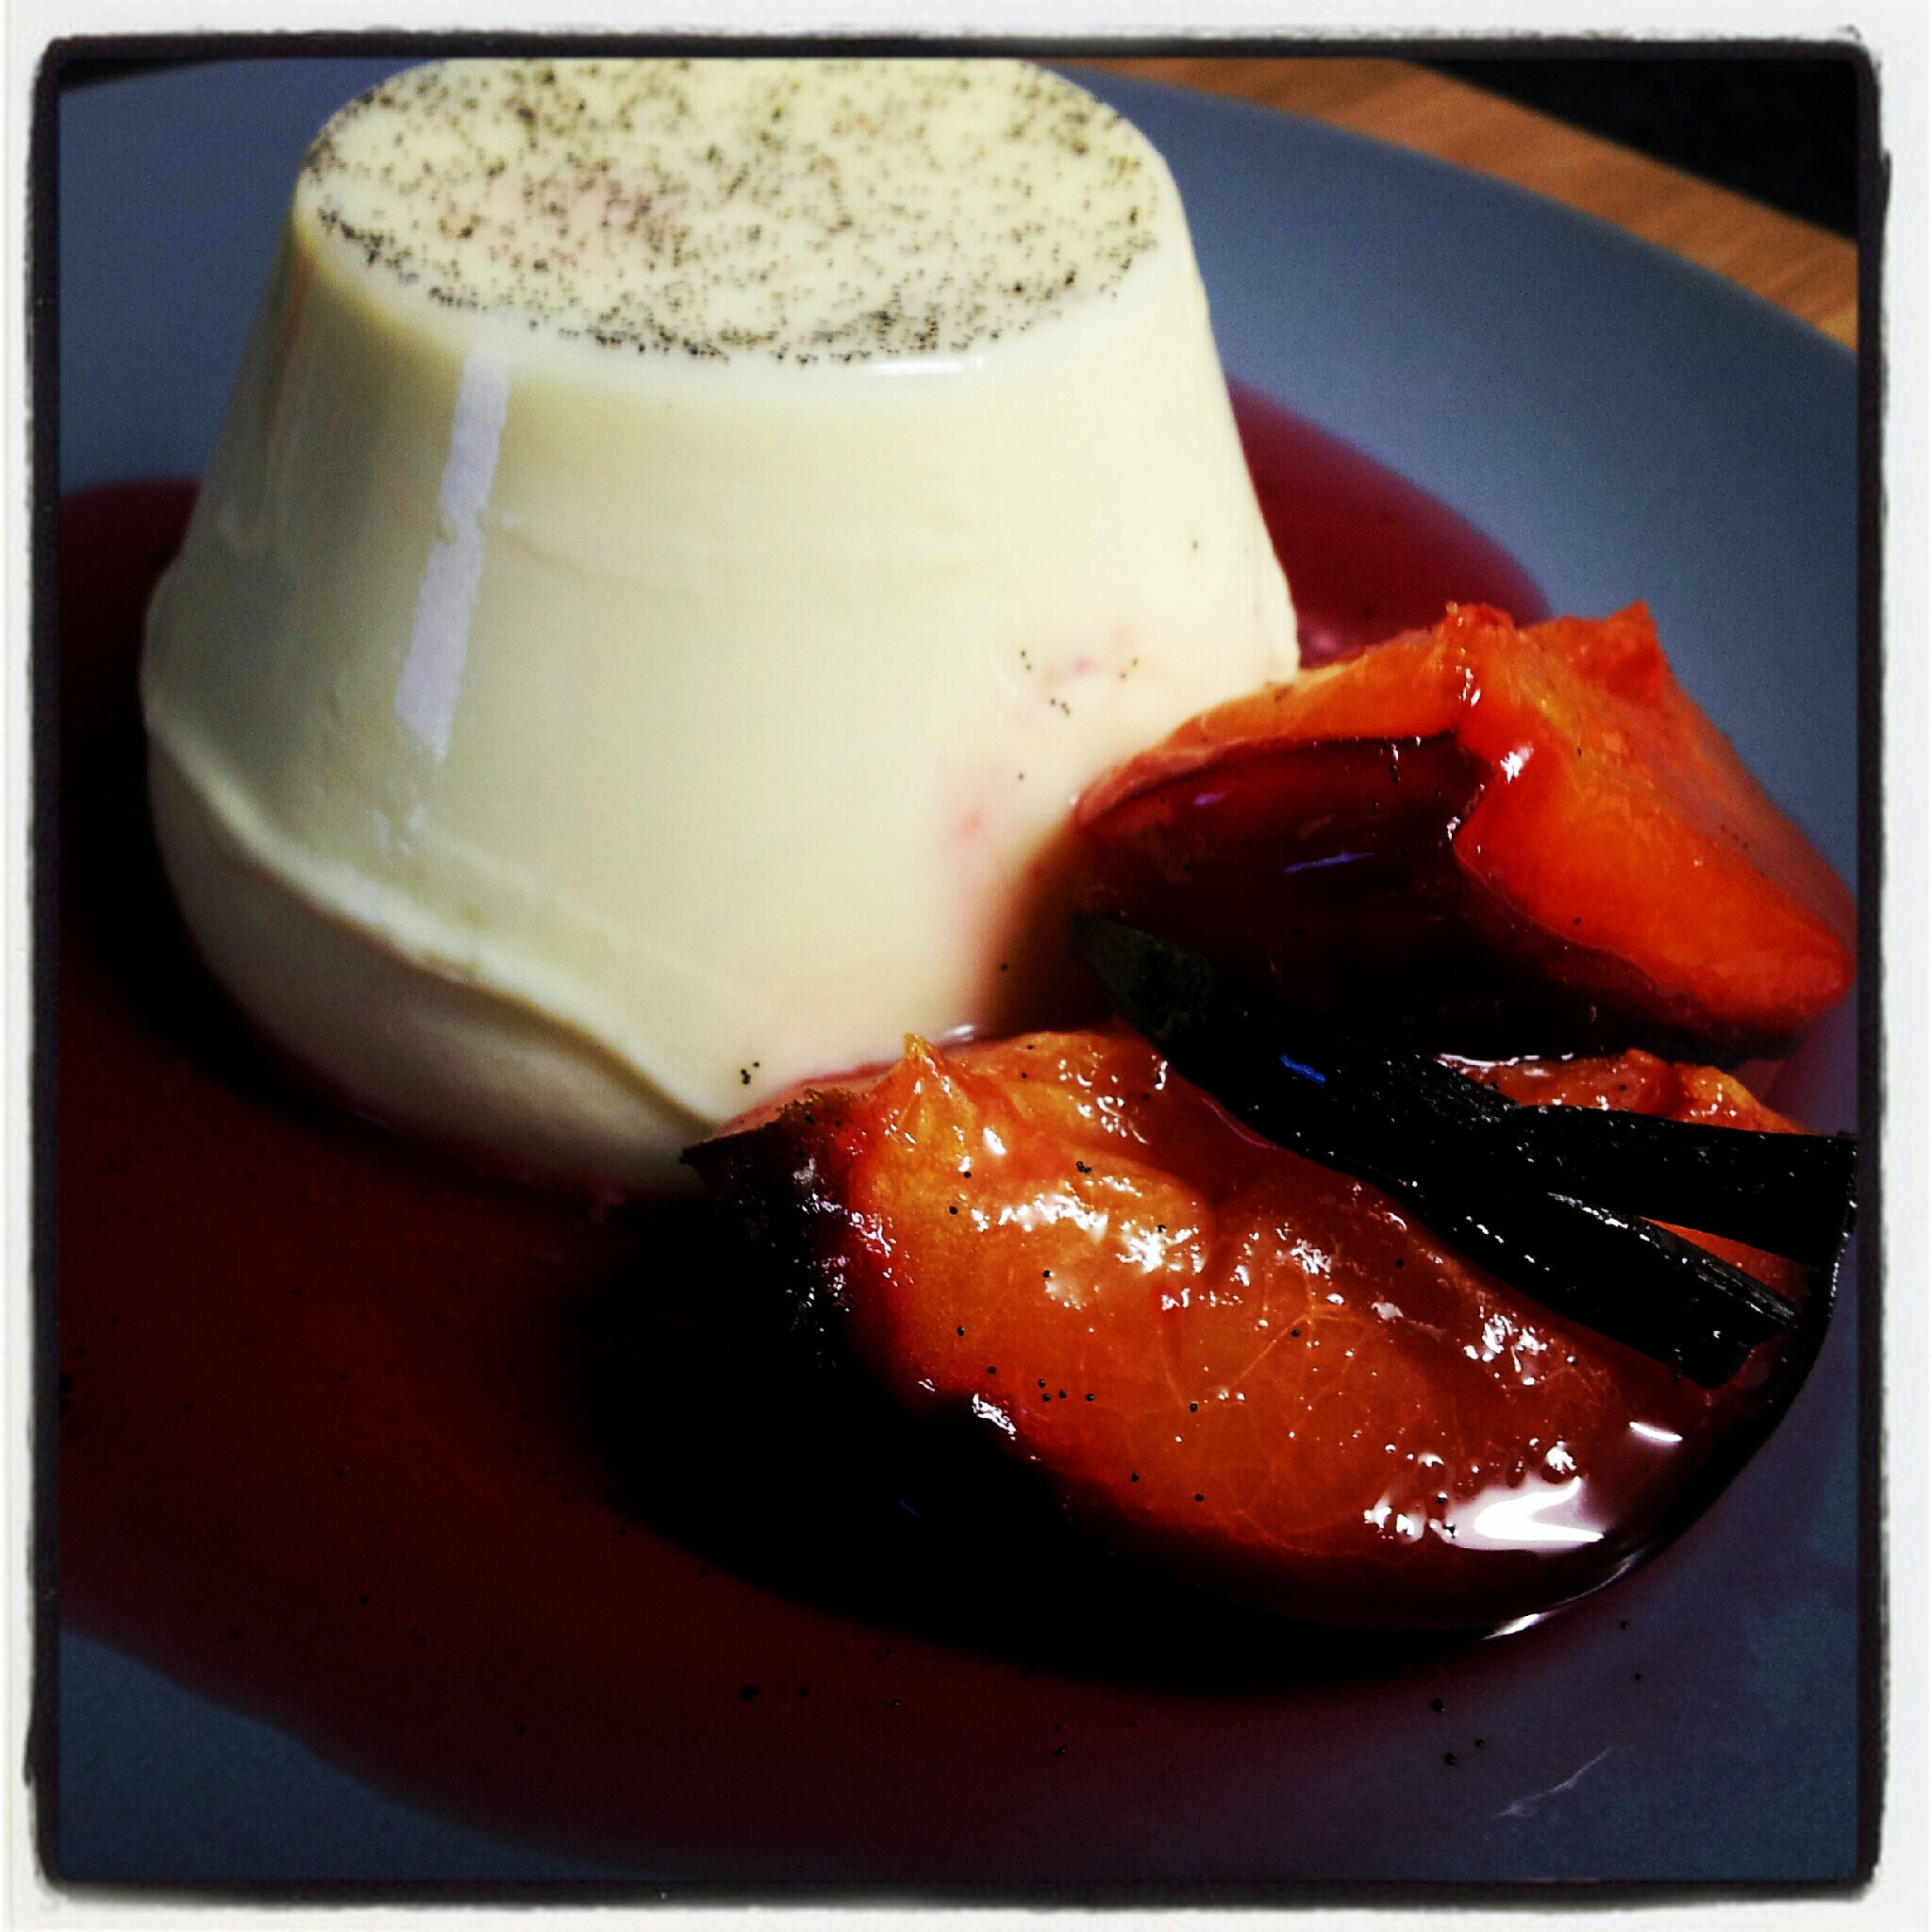
As a huge chocolate fan, I have to confess to not actually loving the dessert this month because there was too much chocolate in it!!! Here’s what I DID love about Jamie Oliver’s Chocolate & orange croissant-bread-and-butter pudding:

  1. I didn’t actually have to make it. My little sister Beck whipped up dessert. It was that easy! (Thanks Beck!)
  2. Croissants.
  3. Butter
  4. Cream
  5. Need I list any more?

Thank you so much to those that did actually participate in the cook-a-long this month. I really hope that you and your family enjoyed the recipes as much as we did.

Just a reminder that cook-a-long will now take place on the third Wednesday of the month. The July cook-a-long will take place on Wednesday 17 July. The Facebook event is now open. Don’t forget to head over and join in and invite your friends!

Until next month.

Take care,

X Bree

Stay tuned: Next month we have a fab new recipe to cook and a GIVEAWAY! Yay!


Leave a comment

Filed under Cook-a-long, June

Celebrating 100 recipes!

Pop the champagne cork! I’ve cooked 100 recipes!

Actually, I’ve officially cooked 107 recipes (if you count tonight’s dinner).

The 100th happened a few weeks ago, on the second of May, and honestly, I didn’t even realise until just a few days ago. Things have been a bit crazy lately.

So who wants to know what the 100th recipe was?

It was Roast lemon chicken with Sicilian olives, the cover recipe from May 2008.

I’ve made it before, back in May 2008 probably. It was yummy then and it was still yummy now.

There is something about the smell and taste of slow-cooked onions. Add thyme to the equation and I am in heaven.

Keeping with this month’s Italian theme, I served the roast lemon chicken on spaghetti which had been lightly tossed in butter. A little bit extravagant, but indeed delicious.

If there is one piece of advice I can give you when making this recipe, it’s make double. You’re gonna want to eat this meal again!

Enjoy!

X Bree

IMG_20130503_211400

Roast lemon chicken with Sicilian olives 

Serves 4

delicious. magazine, (May 2008, p. 125) – Cover recipe

1/3 cup (80ml) extra virgin olive oil
4 large onions, halved, thinly sliced
4 large garlic cloves, thinly sliced
1 heaped tbs fresh thyme leaves, plus 8 small thyme sprigs
8 skinless chicken thigh cutlets
Plain flour, to dust
1 – 2 lemons, scrubbed, thinly sliced, seeds removed
1 1/2 cups (375ml) chicken stock
1 tbs chopped preserved lemon rind* (white pith and flesh discarded), optional
24 Sicilian olives or other large green olives

Heat 2 tbs of the oil in a large frypan over medium-low heat. Add onion and garlic and cook, stirring, for 20-25 minutes until soft and pale golden. Season, then stir in thyme leaves. Spread onion over the base of a roasting pan that will fit the chicken snugly in a single layer. Sprinkle over the thyme sprigs, then set aside.

Preheat the oven to 190 degrees Celcius. Heat remaining oil in the same frypan over medium-high heat. Dust chicken in flour, shaking off excess, then cook in 2 batches for 3-4 minutes each side until golden-brown. Arrange chicken over onion, then overlap 2 lemon slices on each. Squeeze over the juice from any remaining lemon slices.

Meanwhile, bring stock to the boil in a saucepan, stir in the preserved lemon rind if using, then pour around the chicken. Cook in the oven, uncovered, for 45-50 minutes – adding olives after 30 minutes and basting with stock 2-3 times – until chicken is golden and cooked. Stand in the pan for 5 minutes, then transfer chicken, onion, olives and juices to a deep platter to serve.

* From delis and gourmet food shops.

Leave a comment

Filed under easy, family friendly, May, Pasta

When life gives you lemons…

“When life gives you lemons, make lemonade” – Dale Carnegie

It’s a simple message, and such an optimistic one. But when faced with a HUGE surplus of big, fat, juicy lemons from the tree in my backyard, it’s a message I take quite literally. It’s something I have never done before, but I decide to make lemonade. Hooray!

IMG_20130428_210103IMG_20130428_210224

The lemon tree in our yard is not the prettiest tree. It has met with a variety of creepy crawlys and other citrus pests over time. But it is organic. And it seems to have thrived from all the rain we had over summer. In fact, we have been picking some of the biggest, juiciest lemons I have ever seen. The skins imperfections have not affected the juicy goodness inside. But it does mean the lemons are no good for zesting.

IMG_20130428_205933IMG_20130428_211800

So back to lemonade…

The day I decided I was going to make lemonade I was back flicking through all the April delicious. magazines as I had found myself a bit short on recipes this month. Sure enough, I came across a recipe for lemonade – not that a recipe is really needed. It’s as simple as adding sugar to lemon juice to suit your tastes and heating to dissolve the sugar. Not exactly rocket science. But in my attempt to make a healthier version I replaced the caster sugar with organic rapadura sugar and reduced the amount of sugar by about half. The end result was a brownish coloured syrup that was sour, sour, sour. Borderline undrinkable. Oops…  So I just added more sugar. Second attempt, result? A brownish coloured syrup that was a nice balance of sweet and sour.

Now where’s the vodka and soda?

X Bree

P.S You can read more about rapadura sugar here if you are interested. (It’s not a plug to buy this woman’s product, just a great Australian reference)

P.P.S If you want some lemons, just drop me an email… 🙂

Leave a comment

Filed under April, easy

Moving on from March

Moving on from March

Moving on from March

And so here we are, another month down. Where is this year disappearing?

Another month of cooking fabulous, delicious things, without too many failings or freak outs!

Here’s a quick recap of the highlights:

Top 3 sweet treats

  1. Plum tray bake (Mar 2012, p. 66)
  2. White & dark chocolate jaffa swirl cake (Mar 2007, p.93)
  3. New York vanilla cheesecake with blueberries – COVER (Mar 2005, p. 25)

Top 3 easy weeknight dinners

  1. Stir-fried rice with chilli tuna (Mar 2004, p. 72)
  2. Beef and vegetable stir-fry (Mar 2006, p. 40)
  3. Chilli salmon noodle salad with lime & herbs – COVER (Mar 2009, p. 89)

Top 3 cheap and cheerful and vegetarian!!!

  1. Greek bean & silverbeet stew (Mar 2007, p. 138)
  2. Root vegetable & chickpea tagine (Mar 2012, p.70)
  3. Pasta puttanesca (Mar 2003, p. 146)

I feel like I am starting to get my groove on with this whole little challenge now. It feels really comfortable.

Some people have asked me how I go about choosing what I make so as I start a new month, I thought I might give you a brief insight into how I approach each month:

  • In the last week of the month prior, I pull out all of the magazines for the next month. (of which there are twelve)
  • Starting in 2002 I start looking through each magazine and tagging the recipes that catch my eye or appeal to my tastes. I do this fairly quickly, so as not to get too caught up in the stories or other bits and pieces in the magazine. (otherwise you can imagine this would take me a week!)
  • The next step is to write a list of all the recipes I have tagged and where they come from. I do this by year.
  • Once this is complete, this is the list I go to each week to create my menu plan. It is a quick glance system where I can choose a good balance of sweet or savoury, easy or difficult recipes to cook based on my time and other commitments that week. For example, I save complicated or time consuming recipes for the weekend when I have more time.

I hope that this gives you a little insight into how I find the time to cook my family a delicious meal every night.

I would really like to thank each and every one of you who have taken the time to read the blog, leave a comment or like what I am doing.

I am particularly chuffed by how many of you have already signed up to take part in the very first My Delicious Year cook-a-long. In case you are yet to sign up, the recipe and shopping list is out now. Head over to the My Delicious Year facebook page to be kept up to date with what is going on. And mark your calendar for Wednesday 1o April.

I look forward to continuing to share My Delicious Year with you!

X Bree

P.S You can find a full list of what I cooked during March here

2 Comments

Filed under March

April cook-a-long: Recipe reveal

Hello friends,

Here is the moment you have all been waiting for. The details for the April cook-a-long are here.

I have chosen a recipe that I hope you will find easy, fast and affordable.

The possibilities are endless. If you are not particularly fond of prawns, feel free to swap them for something you enjoy. Try chicken or a firm fish fillet or even fried tofu.

Don’t forget that this month’s cook-a-long will take place on Wednesday 10 April.

Once you are finished cooking, take a moment and capture a photo your meal. Post your picture and comments on the My Delicious Year Facebook page or share it on instagram using the hashtag #cookalong and tag @mydeliciousyear.

I can’t wait to see how you all go.

X Bree

2 Comments

Filed under April, Cook-a-long

Farewell to February

Some of my February favourites

Some of my February favourites

It’s official. I have made it through the first month of the My Delicious Year challenge! Round of applause please?

In the end I managed 31 recipes in 28 days. Not a bad effort for the first month of the challenge. In all honesty though, it has been a whole lot of fun.

Here’s a quick recap on some of my favourite recipes from the month:

Top 3 desserts

Real strawberry jelly (Feb 2011, p. 44)
Vanilla panna cotta with roasted plums – COVER (Feb 2003, p. 10)
Strawberry & almond crumble with crème fraiche (Feb 2004, p. 81)

Top 3 easy weeknight dinners

Minced chicken with Thai basil (Feb 2006, p.76)
Prawn, zucchini & mint tagliatelle (Feb 2011, p. 52)
Honey lemon chicken wings (Feb 2004, p. 104)

Top 3 fancy weekend dinners

Smoked salmon & pea risoni with a coriander mojo (Feb 2007, p. 80)
Ravioli with roasted pumpkin & herbs (Feb 2002, p. 128)
Roasted vegetable strudel with pesto sauce (Jan/Feb 2002, p. 86)

Top 3 cheap and cheerful

Tuna-stuffed capsicum (Feb 2004, p. 74)
Stir-fried pork and pickled cucumber on rice noodles (Feb 2008, p. 96)
Chicken dumplings in broth (Feb 2005, p. 62)

This whole little project has been good for me. I used to be a disorganised cook, often waiting until mid afternoon  before I would start to think about what I would cook for dinner. Now I sit down at the start of the week and plan my meals out for the week and only shop once or twice.

It has also been good for the rest of the family. B2 and B4 are your usual fussy eaters. But they have been really great. Trying lots of new things. Finding new things that they like. Generally being awesome little dudes – except for the one or two times I have had to spoon feed them or threaten to send them to bed without any dinner!

Even Mr Picky Palette has been awesome. He is the first to remind me that I am a quitter or that I never finish what I start. But I have proved him wrong so far. He happily wolf’s down the food I make, offers his two cents on what I should or shouldn’t have put in it, and then asks for seconds. I’m happy with that…

I would really like to thank each and every one of you that are reading my blog, leaving comments and liking what I am doing. That is really what keeps me going each day, knowing that I have your support. If I have inspired just one of you to try something new, then my job is done! Thank you so much! 

Now that March is underway, I can’t wait to get into some delicious Autumn food! I look forward to continue sharing My Delicious Year with you!

Take care,

X Bree

P.S You can find a full list of what I cooked during February here.

1 Comment

Filed under February

I made an ugly cake…

So I made this ugly cake.

Well actually it was a brownie – a chocolate cheesecake brownie.

I should have known better.

You mix together the ingredients for the brownie base and then you mix together the ingredients for the cheesecake.

Two thirds of the brownie mix goes in the bottom of the cake tin, followed by the cheesecake, followed by the last third of the brownie mix. Then you swirl it all around and bake it.

Here's where it starts to get ugly

Here’s where it starts to get ugly

Here’s where it got ugly. There was SO much cheesecake mixture. It involved almost a kilogram of cream cheese after all! My gut told me that it wouldn’t all fit in the 24cm square cake pan suggested. I ignored my gut and just followed the instructions.

So I spent the next hour nervously watching it bake in the oven.

And as I expected, it slowly rose up, up, up and over like warm chocolatey lava. Disaster!

It didn’t help that I was in a hurry too. I had planned on taking the brownie out to my parents house for morning tea, but I was running late. After it broke its banks and oozed up and over that stupid little pan I switched off the oven and left it there. I would deal with whatever was waiting for me when I got home.

When I got home and opened up the oven, the brownie had kind of sunk violently in the middle with some serious chocolate hanging over the baking paper and cake pan.

Cracked, sunken and overflowing - sigh!

Cracked, sunken and overflowing – sigh!

I left the cake to completely cool in the pan and then dragged it out. Things just got uglier…

Every time I tried to cut a nice piece to photograph and share with you lovely people, the cake cracked more, bits fell off, oh it was just a disaster! U-G-L-Y!

But, those little bits that kept falling off the cake kept falling in my mouth and, oh my goodness, they were yum! Chocolatey, gooey, chewy, sweet, cheesy, deliciousness!

In the end I hacked it into square like pieces and sent it off to work with Mr Picky Palette for his co-workers to enjoy. They didn’t seem to mind ugly cake.

Moral of the story:

  1. Go with your gut instincts
  2. Use a bigger cake pan
  3. Or halve the cheesecake mixture
  4. Ugly can still taste delicious

X Bree

At this point I gave up trying to cut a piece pretty enough to share with you...

At this point I gave up trying to cut a piece pretty enough to share with you…

Chocolate cheesecake brownies

Makes 16

delicious. magazine (Feb 2009, p. 101)

250g dark chocolate, roughly chopped
250g unsalted butter, softened
2 cups (440g) caster sugar
4 eggs
3/4 cup (110g) plain flour
750g cream cheese, softened

Preheat the oven to 160 degrees celcius. Grease and line a 24cm square cake pan.

Melt the chocolate in a heatproof bowl set over a saucepan of simmering water (don’t let the bowl touch the water). I melted mine in the microwave – it’s much quicker and uses less dishes!

Meanwhile, place butter and 1 1/4 cups (275g) sugar in a bowl, then beat with electric beaters until thick and pale. Add 2 eggs, one at a time, beating well between each. Add melted chocolate and flour, then continue beating until well combined.

Spread two-thirds of the chocolate mix in the pan. Set remaining mixture aside.

In a separate bowl, beat the cream cheese and remaining 3/4 cup (165g) sugar with electric beaters until smooth. Add the remaining 2 eggs, one at a time, beating well between each addition.

Carefully spread cream cheese mixture over the chocolate in the pan. Dollop the remaining chocolate mixture over cream cheese layer, then use a fork to swirl the chocolate through the cream cheese.

Bake for 1 hour and 15 minutes or until the centre is just set. Cool completely in pan, then carefully remove from the pan, transfer to a board and cut into 16 squares.

4 Comments

Filed under cake, February

Stretching the pennies for a cheap weeknight dinner

I was surprised to receive a bit of backlash during the week about how much money (and time) people assumed I was spending feeding my family on this new “delicious” diet.

The thing is, from Monday through to Friday I am drawn to recipes that are quick and simple to prepare and only require a few ingredients. On the weekends, when I have a bit more time, I like to go all out and try out the more lavish recipes that require more time and more money. The weekend is also the time when I might bake something special for morning tea and try out something a bit extravagant for dessert.

Chicken dumplings in broth

Chicken dumplings in broth

Take for example last week’s Chicken Dumplings in Broth. The list of ingredients were:

250 gm chicken mince
1 garlic clove
1 tbs chopped coriander
1 eggwhite
4 tbs light soy sauce, plus extra to serve
1 L chicken stock
1 lemongrass stem
2.5cm piece ginger
2 small red chillies
2 star anise
2 tbs lime juice
1 tsp sesame oil
1 tbs fish sauce
1 /2 bunch garlic chives (which I didn’t use)
chilli bean sauce, to serve

Out of everything on the list, the only things I didn’t already have  in the fridge or pantry was the chicken mince and lemongrass. A quick check of Coles online and 500g chicken mince is currently $5.90 (and you only need half of that) and one bunch of lemongrass is $2.48. I also threw in a few rice noodles to bulk out the meal which are very cheap at my local Asian store. So really, in order for me to put this meal together for the four us, it cost well under $10.

What i’m trying to say is that it doesn’t cost a lot to feed your family fresh, fancy looking food, if that is your thing. Looks can be very deceiving!

Maybe I have Instagram to thank for making my food look fancier than what it really is…

X Bree

P.S You can find the full recipe here.

Whats your family’s favourite cheap, but a little bit fancy, dinner?

6 Comments

Filed under budget friendly, February, low fat

The cake that nearly broke me

Under normal circumstances I would never attempt a cake like the Summer layer cake, the cover recipe from the February 2012 issue of delicious. magazine. However, you may recall that when I started this little project, one of my “ground rules” was that I would cook every single cover recipe. This whole exercise was designed to push me out of my comfort zone and cook things I would ordinarily deem too hard.

The plan was to make the cake for my birthday, a Wednesday. But the night before, during a quick scan of the recipe to ensure I had all the necessary ingredients, I came across the dreaded words “Begin this recipe a day ahead”. I was not off to a particularly good start. There would be no birthday cake.

As it turns out, I got busy and I didn’t end up starting the cake until Friday.

The first stage was making the cake and berry mousse which would be sandwiched between each layer of cake. This stage was pretty straight forward, except that I don’t own two springform pans. And the one I borrowed from my mother was a different size to mine. This is kind of critical when you are making a multi layered cake that would set overnight in said pan. In the end I made do using three pans almost the same size and hoped for the best.

Having had a terrible incident with smoke and electricity (and a trip to the bin) with my own mixer late last year, I borrowed my mother’s beautiful vintage Sunbeam mixer. I would say it is over 40 years old, but it is still working as new. They certainly don’t make them like they used to.

My mother's vintage Sunbeam mixer

My mother’s vintage Sunbeam mixer

The cake is the usual cream butter and sugar blah blah. No drama there.

While the cake was baking I got on to making the berry mousse. It’s quite a simple process of mixing together strawberries, raspberries, cream and gelatine. The trick is to gently fold the whipped cream into the berry puree and keep the mixture light. This was so good. I could actually have eaten it on its own. No volunteers required for bowl licking here!

What came next was a whole lot of cutting, trimming, glad wrapping and finger crossing. I had to cut one cake in half and slice the top off the other two to make them all about the same size. I glad wrapped the cake pan I baked one of the cakes in and then put the first layer of cake into the bottom, topped it with a third of the berry mousse mixture and repeated to make four layers of cake and three layers of mousse. It was then sealed with more glad wrap and tucked up into bed in the fridge over night.

The next afternoon I finally got the courage to finish the cake off. In my eyes this was the hard part – making the marshmallow icing and assembly.

I have never come across a marshmallow icing recipe before, but this is a revelation. Since I made it I have been trying to come up with other uses for it (I’m thinking cup cakes!!!). It is a bit of a process to make it, but well worth it. Over a double boiler on the stove you whisk the egg white, sugar and cream of tartar until the mixture kind of doubles in size and becomes frothy. You then add the chopped up marshmallows and transfer it over to your mixer and beat it at top speed for about ten minutes until it becomes thick, pale, shiny, cool and DELICIOUS!!!

Stage 1Stage 2Stage 3

As for the final stage of assembly, well, um, it tasted good!

I wasn’t thrilled with how it looked in the end. It wasn’t anywhere near as pretty as the original in the delicious. magazine.

I think each of the layers were quite even, I was happy with that. I found that I had to work pretty quickly to get the marshmallow icing on as I noticed it starting to slide off the cake. I also failed to get the dessicated coconut onto the sides of the cake. Not sure how they managed that one…

Before the marshmallow icing

Before the marshmallow icing

The end result

So four days after originally planning to be eating cake, we finally sat down and tried it.

The cut

The cut

My piece!

My piece!

It may not have been that pretty. It may have taken two days. I may have had to adapt the recipe a little to fit in with the equipment I had. But I did it! It didn’t break me! But it was hard work!

I’ll leave it up to B2 to sum up for you how the cake actually tasted. A picture tells a thousand words…

Finger licking good

Finger licking good

X Bree

6 Comments

Filed under cake, February, ground rules, special occasion

Pasta and Panna Cotta – A fancy Sunday night dinner

In our house Sunday night dinners are not flash. They usually consist of scrambled eggs or fridge leftovers. But since I embarked on this cooking extravaganza Sunday nights dinner have been a bit more fancy.

Tonight we took a trip back to 2002 and 2003 and enjoyed Ravioli with roasted pumpkin & herbs and Panna cotta with roasted plums. One word = yum!

I have made fresh pasta before, and in fact, the recipe calls for fresh, shop bought lasagne sheets a la Latina style. But I chose to make my own using my faithful Jamie Oliver basic pasta dough recipe. It’s a simple recipe – 100gm of strong “00” flour to each egg. Make as little or as much as you like. I use my food processor so it is whizzed together in a moment. I make enough for six so I can freeze half. Once you’ve made it a few times it is simple. The hardest part really is the rolling out and getting the texture smooth and silky.

Rolling out the fresh egg pasta

Rolling out the fresh egg pasta

The filling for the ravioli is a simple mix of roasted butternut pumpkin, ricotta, egg yolk, parmesan, toasted pine nuts, fresh herbs (I used sage, basil and thyme) and a pinch of nutmeg (which I forgot – whoops!). I’m not a fan of butternut pumpkin. I find it kind of stringy. I prefer the blue or jap and would probably use that next time. Any herbs will do. Whatever you like to eat. Fresh from your own garden is even better!

The ravioli filling

The ravioli filling

Next is the most difficult part – rolling and filling the ravioli. The secret is not to overfill the ravioli and to make sure that you get all of the air out before you seal each one. I made little round ones because that is the only cutter I had, but you could also cut them by hand into squares or use a fancy crimper cutter. Whatever…

Even little mounds are best

Even little mounds are best

Perfect little packages

Perfect little packages

While you are boiling your ravioli in salted water (4 or 5 minutes until they rise to the surface) you can make the sage flavoured oil by warming your extra virgin olive oil and dropping in a dozen sage leaves till they sizzle and crisp up.

The result is perfect little pillows with a sweet and savoury pumpkin and cheese filling. Really delicious. Give it a go!

The end result

The end result

Now for the panna cotta. Confession! This recipe is SO easy I actually whipped it up 15 minutes before I went to bed on Saturday night. I’m not sure why I thought it would be more difficult. Maybe it’s Masterchef’s fault. Or Matt Preston. You’ve got to get your “wobble” right. Miraculously, I did.

This recipe is NOT low-fat. It consists of cream, cream, vanilla, sugar and more cream. It is very rich, very sweet and very much a sometimes food! But so, so good.  You simply heat the two types of cream, vanilla bean and sugar in a pot and bring it to a simmer and switch it off. Let it cool for a few minutes then add your softened leaf gelatine. Strain it and pour it into little dariole moulds, or if you don’t have them, just pour it into whatever you want to serve it in. Leave them in the fridge over night to set. The recipe said it would make six. I made eight. Any bigger and I think I would have had a sugar convulsion (did I mention this recipe is rich?)

While I was cooking dinner last night I made the roasted plums, which is pretty much that. Plums, sugar, more vanilla bean roasted in a hot oven for about 20 minutes.

The trickiest part of this recipe is getting the panna cotta out of the dariole moulds. The easiest way I found was to run a knife around the edge of the mould to break the seal, dip the mould into warm water for a minute, turn it upside down onto the plate you want to serve it on and give it a little bang. Ta da! Magic! All the little seeds from the vanilla bean have now settled on top of your panna cotta which makes it look pretty. Add a couple of plums and you have a very good-looking dessert.

Vanilla panna cotta with roasted plums

Vanilla panna cotta with roasted plums

These two recipes were published in delicious. magazine more than ten years ago, yet they have not dated a bit. If you want to impress somebody, without going to a whole lot of trouble, you must give them both a go.

However, after such a decadent dinner last night we are one fruit and salad today! Until dinner of course, where I am planning on using the rest of my fresh egg pasta to make another delicious dinner!

X Bree

5 Comments

Filed under February, special occasion