Who would have thought it. Chickpeas in a cake. Well actually James Reeson did. James who, you ask? Well back in 2002 he was the “celebrity chef” featured in the March delicious. magazine. Famous for his pony tail and a show called “Alive & Cooking“. No, still don’t remember??? Not so much a celebrity anymore. But he did come up with this genius idea to combine chickpeas and apricots into a cake. The combination intrigued me so I had to give it a go.
The chickpeas are blended with dried apricots and apricot nector so you can’t really pick up on their flavour. In fact, if I did a blind tasting with you I am sure that you wouldn’t even know that there was chickpeas in the cake.
The end result is a very mild tasting, beautifully moist cake. The next time I make it (and I will definitely make it again!) I might pimp it up a bit and add the zest of an orange and maybe replace the apricot nectar with fresh orange juice to reduce the amount of sugar in the cake.
Chickpeas are so incredibly versatile. Adding them to a cake was just a genius idea!
X Bree
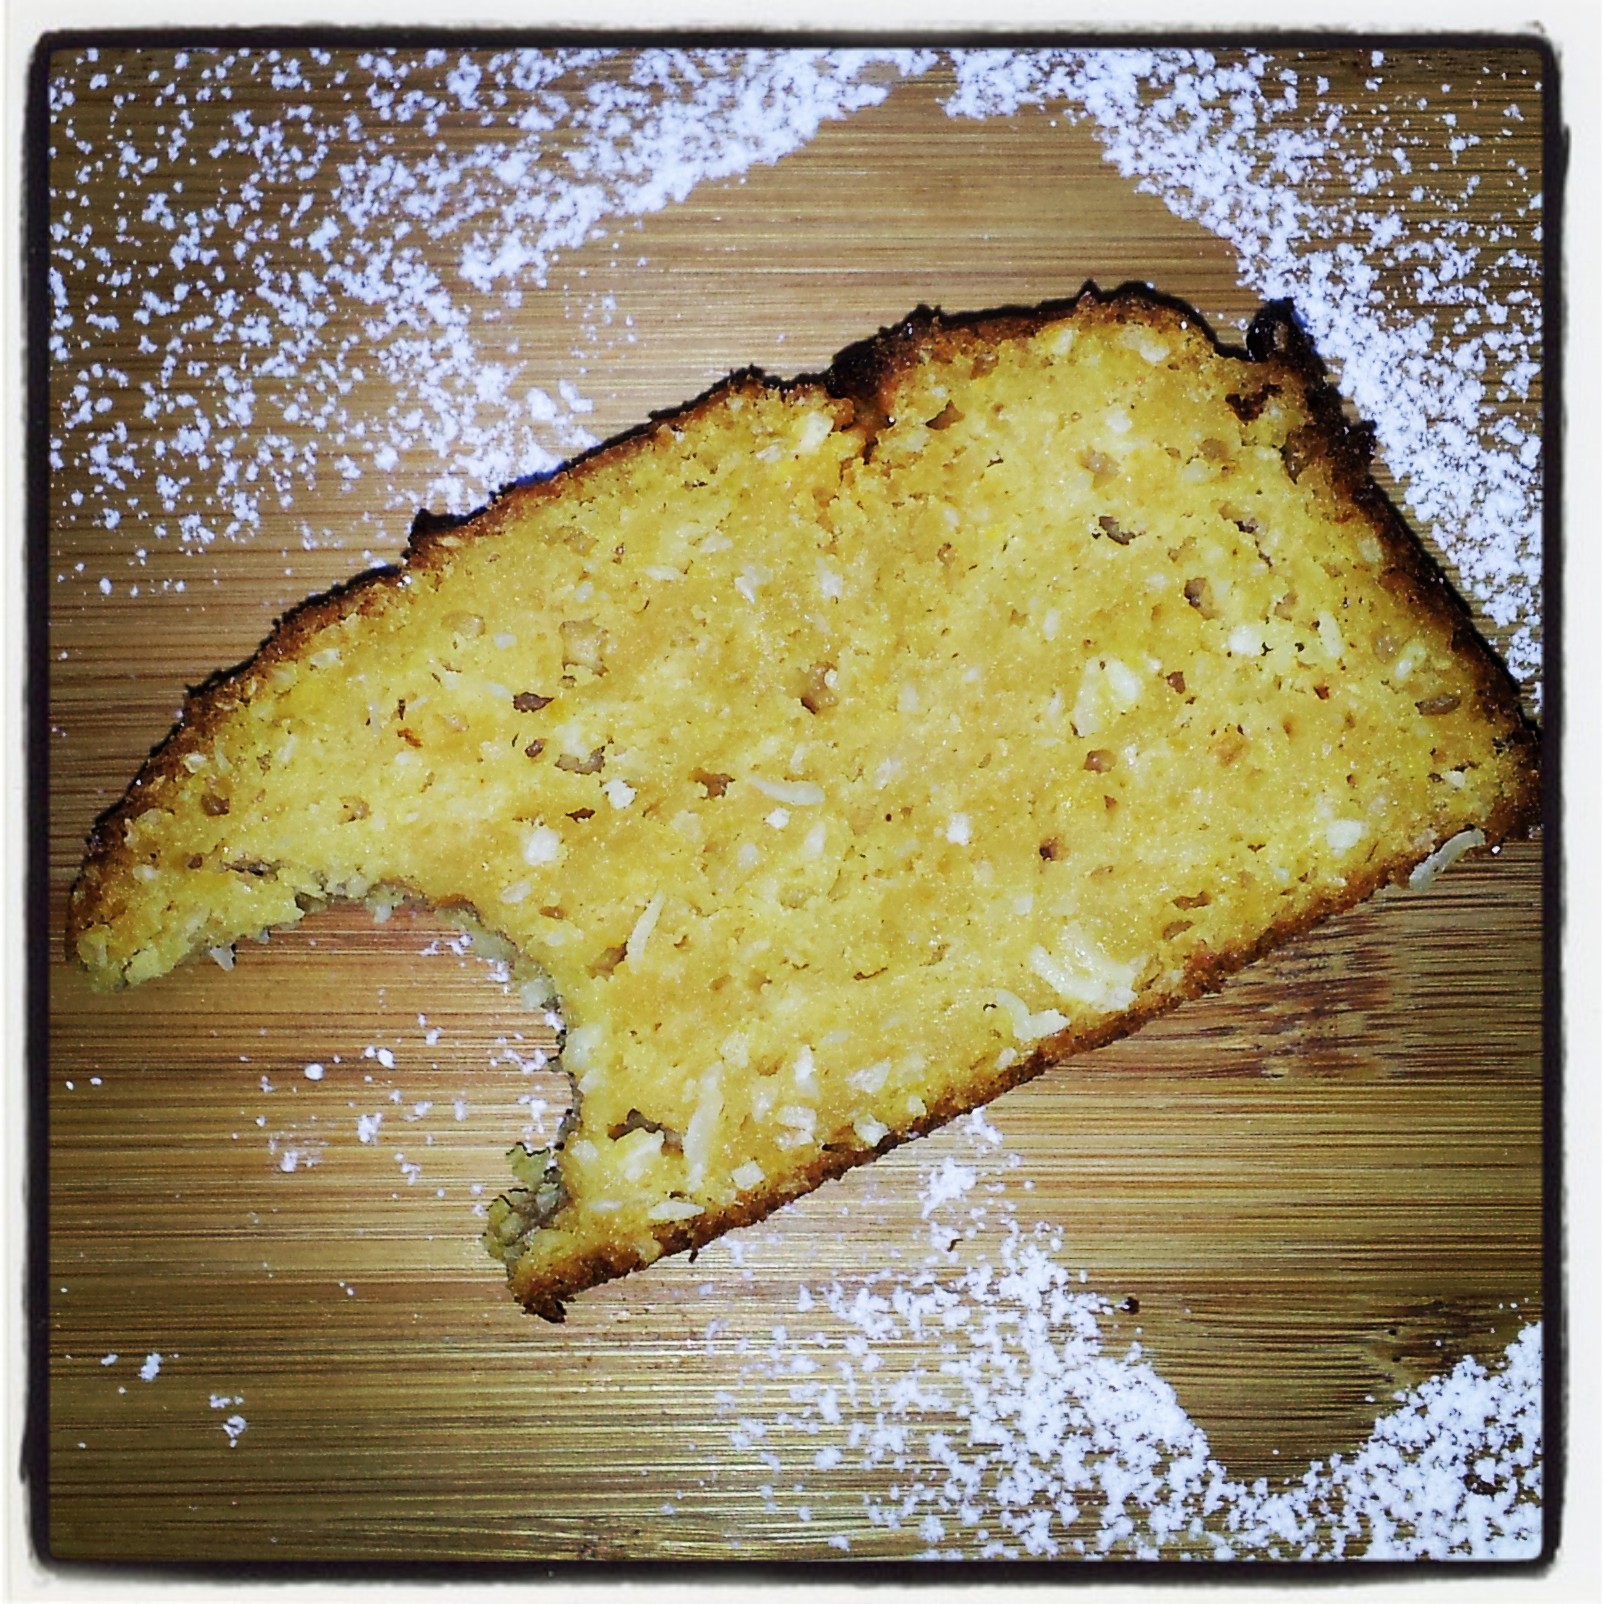
Chickpea & apricot cake
chickpea & apricot cake
Serves 6-8
delicious. magazine, (Mar 2002, p. 127)
125g dried apricots
350ml apricot nectar
2 cups cooked chickpeas (canned are fine)
3/4 cup brown sugar
250g self raising flour, sifted
100g (1 cup) desiccated coconut
50ml olive oil (coconut oil would be nice too!)
4 egg whites
Icing sugar, to dust
Thick greek yoghurt and honey, optional, to serve
Preheat oven to 170 degrees celcius. Grease and line base of a 10 x 23cm loaf pan.
Place apricots and nectar in a bowl and set aside for 30 minutes to soak. Transfer to a saucepan over medium heat and simmer for 15 minutes. Add chickpeas and cook for 5 minutes. Set aside to cool. Place in a food processor and blend until a smooth puree. Add the sugar and blend for a few more seconds. Tip into a bowl and fold in the flour, coconut and a pinch of salt. Add the oil and 100ml water and stir to make a smooth batter.
In a separate bowl, beat egg whites until soft peaks form. Gently fold into batter until combined. Pour in the loaf pan and bake for 1 hour until a skewer inserted into the centre comes out clean. (If it browns too quickly, cover with foil.) Turn onto a wire rack to cool.
Dust with icing sugar and serve with thick yoghurt and a drizzle of honey, if desired.